Who can resist the allure of a warm, fresh-baked chocolate cookie? Especially when it's infused with rich fudge flavor and adorned with a playful scattering of colorful sprinkles! If you've ever dreamt of whipping up a batch of decadent treats that taste like they came straight from a gourmet bakery, but without the fuss, you've come to the right place. This guide is dedicated to bringing you an easy chocolate fudge cookie recipe that promises perfect results every single time.
Forget complicated techniques or a long list of obscure ingredients. We're breaking down the art of making sublime chocolate fudge cookies with sprinkles into simple, achievable steps. Whether you're a seasoned baker or just starting your culinary journey, prepare to delight your taste buds and impress your friends and family with these irresistible, chewy, and intensely chocolatey creations.
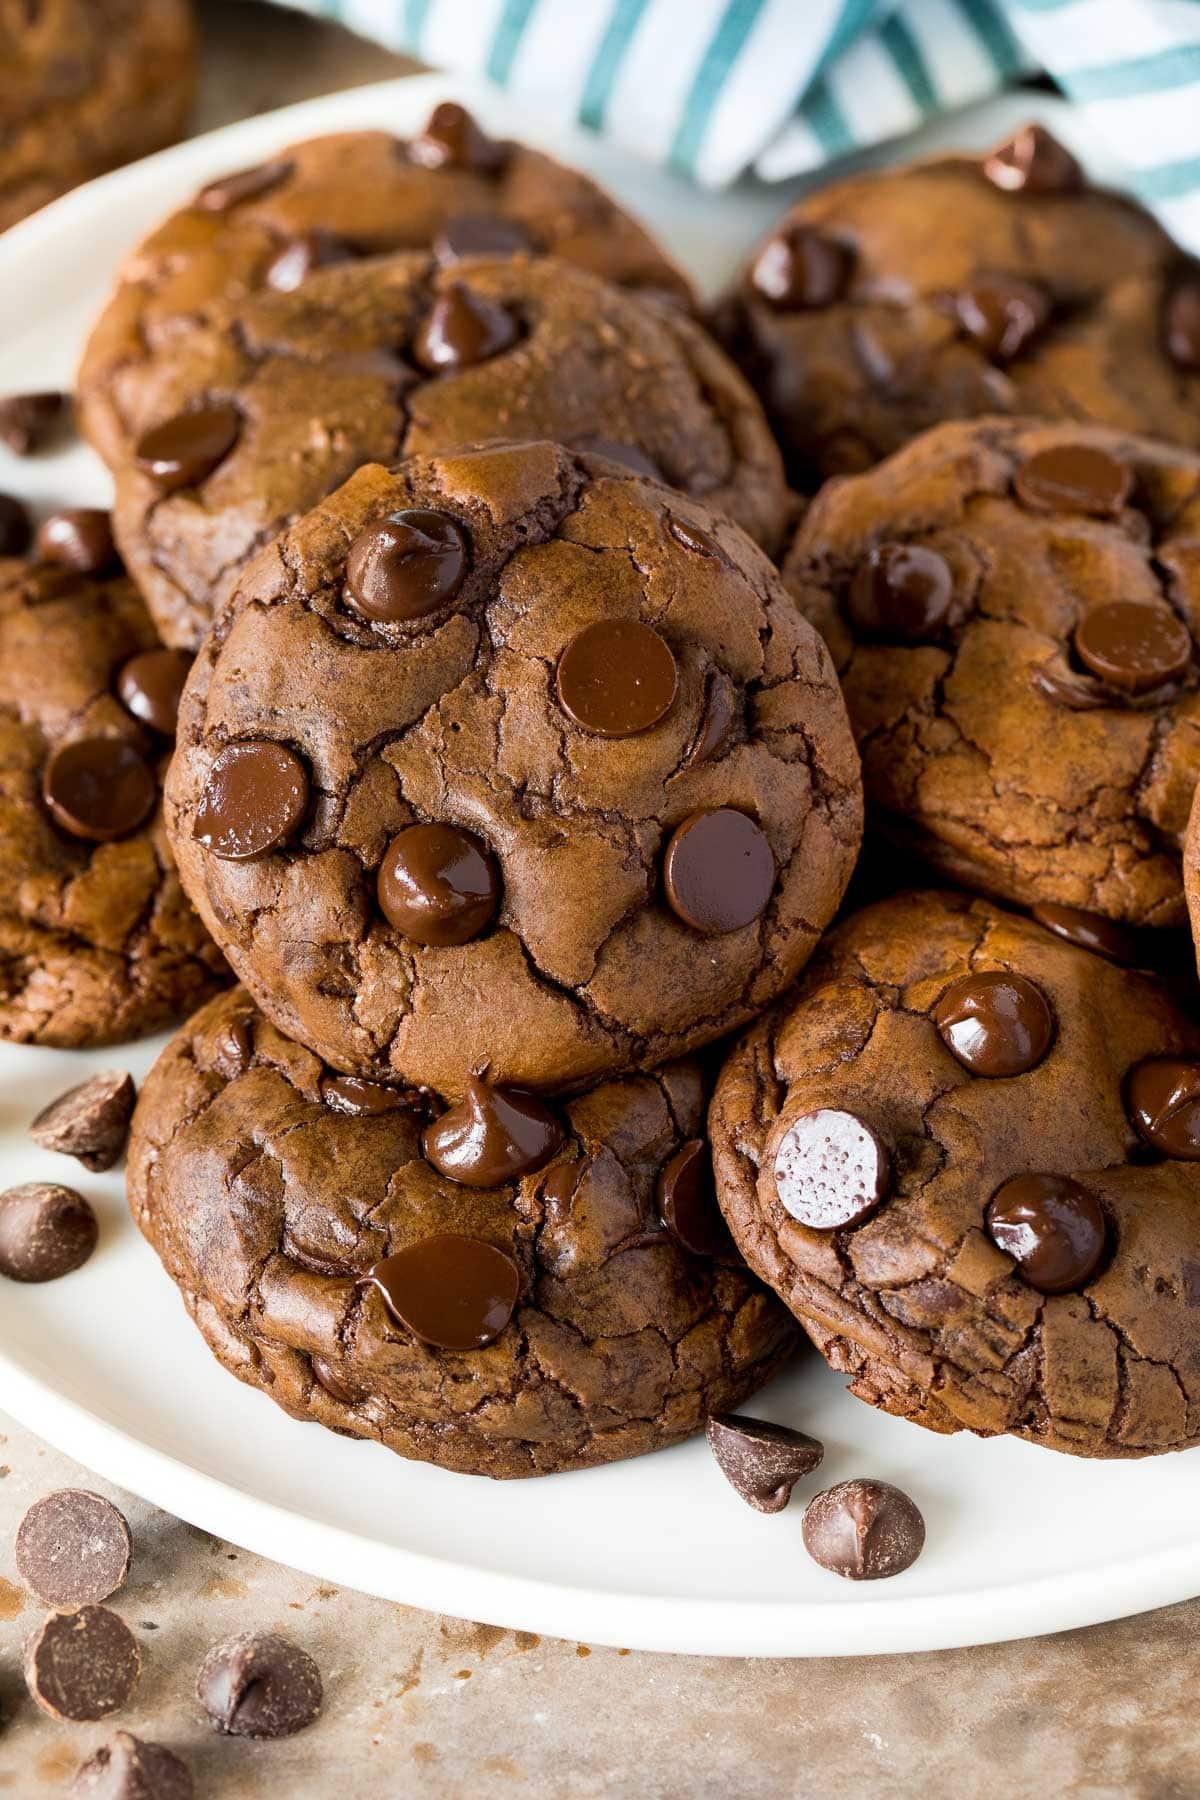
The Irresistible Charm of Chocolate Fudge Cookies with Sprinkles
There's something inherently comforting and celebratory about a chocolate fudge cookie. The deep, rich cocoa notes, the tender, chewy texture, and that melt-in-your-mouth fudge quality create a truly luxurious experience. But what elevates these already incredible cookies to another level of joy? Sprinkles, of course!
Sprinkles add not only a pop of vibrant color but also a delightful, subtle crunch that complements the soft interior of the cookie. They transform a simple dessert into a festive masterpiece, making them perfect for parties, holidays, or just brightening up an ordinary Tuesday. Our recipe focuses on maximizing that rich, fudgy flavor while ensuring the process remains effortlessly simple, proving that delicious doesn't have to mean difficult.
If you're always on the lookout for dessert recipes that satisfy even the most intense chocolate cravings, these cookies are your answer. And for those curious about alternative methods, especially for a slightly lighter touch, don't forget to explore our guide on Air Fryer Chocolate Fudge Cookies: Guilt-Free Treat in 6 Mins. But for now, let's dive into the classic, deeply satisfying experience of baked perfection.
Gathering Your Simple Ingredients for Decadent Results
The beauty of this easy chocolate fudge cookie recipe lies in its straightforward ingredient list. You likely have most of these staples in your pantry already! Using high-quality ingredients, especially chocolate, will make a noticeable difference in the final flavor profile and texture of your chocolate fudge cookies with sprinkles. Remember, fresh ingredients lead to the best results!
Essential Ingredients You'll Need:
- Unsalted Butter: Softened to room temperature. This provides richness and helps with texture.
- Granulated Sugar & Brown Sugar: A combination delivers the perfect balance of sweetness and chewiness. Brown sugar, in particular, contributes to the moist, fudgy texture.
- Large Eggs: Act as a binder and add moisture.
- Vanilla Extract: A crucial flavor enhancer that complements the chocolate beautifully. Use pure vanilla for the best taste.
- All-Purpose Flour: The structural base of your cookies.
- Unsweetened Cocoa Powder: This is where a significant part of your deep chocolate flavor comes from. Choose a good quality Dutch-processed cocoa powder for an even richer color and smoother flavor.
- Baking Soda: Helps the cookies rise slightly and achieve a tender crumb.
- Salt: Balances the sweetness and enhances all the other flavors. Don't skip it!
- Semi-Sweet Chocolate Chips: The stars of the show! We recommend a high-quality brand like Ghirardelli or Guittard for superior melt and taste. You'll use some in the dough and some pressed on top for extra visual appeal and chocolate bursts.
- Sprinkles: Your choice of colorful jimmies or nonpareils to add that fun, festive touch!
Pro Tip: While Nestle chocolate chips are common, for a truly decadent fudge cookie, investing in a slightly higher quality chocolate will pay off immensely in flavor and melt. Avoid low-quality chocolate that might not melt smoothly.
Step-by-Step Guide to Perfect Chocolate Fudge Cookies
This recipe is designed for simplicity, ensuring even novice bakers can achieve professional-looking and tasting cookies. Follow these steps for an enjoyable baking experience and outstanding results.
Preparation is Key
- Preheat & Prep: Preheat your oven to 350°F (175°C). Line baking sheets with parchment paper. This prevents sticking and makes cleanup a breeze.
- Melt the Chocolate & Butter: In a microwave-safe bowl, combine your softened unsalted butter with about half of the semi-sweet chocolate chips. Microwave in 30-second intervals, stirring in between, until completely melted and smooth. Be careful not to overheat the chocolate, as it can seize. Set aside to cool slightly.
Mixing Your Dough to Perfection
- Combine Wet Ingredients: In a large mixing bowl, whisk together the granulated sugar, brown sugar, eggs, and vanilla extract until well combined and light in color.
- Integrate Chocolate Mixture: Pour the slightly cooled melted chocolate and butter mixture into the egg mixture. Beat on low speed or stir until just combined.
- Whisk Dry Ingredients: In a separate medium bowl, whisk together the all-purpose flour, unsweetened cocoa powder, baking soda, and salt. This ensures even distribution of the leavening agent.
- Combine Wet and Dry: Gradually add the dry ingredient mixture to the wet ingredients, mixing on low speed until *just* combined. Be careful not to overmix; overmixing can lead to tough cookies. A few streaks of flour are fine.
- Fold in Chocolate Chips: Gently fold in the remaining semi-sweet chocolate chips with a spatula.
- Chill the Dough: Cover the bowl with plastic wrap and chill the dough in the refrigerator for at least 30 minutes, or up to 2 hours. Chilling is crucial for preventing the cookies from spreading too much and helps develop the flavor, resulting in a chewier texture.
Shaping and Decorating with Sprinkles
- Scoop and Roll: Once the dough is firm, scoop out tablespoon-sized portions and roll them into smooth balls. Place them about 2 inches apart on your prepared baking sheets.
- Add Extra Chocolate & Sprinkles: For that bakery-style finish and extra burst of chocolate, gently press a few extra chocolate chips onto the top of each dough ball. Now, for the fun part – roll the edges of each dough ball in your chosen sprinkles, or simply press them onto the tops.
Baking for That Ideal Texture
- Bake: Bake for 8-10 minutes. The cookies are done when the edges are set, but the centers still look slightly soft and gooey. This is key to achieving that perfect fudgy, chewy texture.
- Cool: Let the cookies cool on the baking sheet for 5 minutes before transferring them to a wire rack to cool completely. This allows them to set up properly and prevents them from breaking.
Cooling and Enjoying
Once cooled, these chocolate fudge cookies with sprinkles are ready to be devoured! They pair wonderfully with a cold glass of milk, a scoop of vanilla ice cream, or your favorite hot beverage.
Expert Tips for Your Best Chocolate Fudge Cookies Yet
While the recipe is straightforward, a few expert tips can elevate your chocolate fudge cookies with sprinkles from good to absolutely unforgettable.
- Don't Skip the Chill Time: We can't stress this enough! Chilling the dough solidifies the butter, preventing excessive spreading and ensuring your cookies retain their shape and chewy texture. It also allows the flavors to meld beautifully.
- Avoid Overmixing: Once you add the flour, mix until just combined. Overmixing develops gluten, which can lead to tough, dry cookies.
- Know Your Oven: Oven temperatures can vary. Keep an eye on your cookies during the last few minutes of baking. Look for set edges and slightly soft centers. A minute or two can make all the difference between fudgy and crumbly.
- Quality Chocolate Matters: As mentioned, better quality chocolate chips will melt more smoothly and provide a richer, more profound chocolate flavor.
- Sprinkle Application: For maximum impact, add sprinkles *before* baking, pressing them gently into the dough. You can also add a few more to the tops of the warm cookies right out of the oven for extra sparkle.
- Storage: Store your cooled chocolate fudge cookies with sprinkles in an airtight container at room temperature for up to 5 days. They also freeze wonderfully for up to 3 months, making them perfect for meal prepping your sweet cravings!
For those times you want to simplify even further or try a lighter version, remember that Air Fryer Chocolate Fudge Cookies: Guilt-Free Treat in 6 Mins offers a quick and satisfying alternative. And if your passion for rich, chewy indulgence runs deep, explore our Decadent Chocolate Fudge Cookies: Rich Chewy Indulgence for Any Occasion for more inspiration!
Customizing Your Chocolate Fudge Cookie Experience
One of the joys of baking is the ability to personalize your creations. This easy chocolate fudge cookie recipe is a fantastic canvas for experimentation:
- Chocolate Variations: Swap out semi-sweet chips for dark chocolate chips for a more intense flavor, milk chocolate chips for extra sweetness, or even white chocolate chips for a striking contrast.
- Mix-Ins: Fold in chopped nuts (pecans, walnuts), M&M's, peanut butter chips, or even a teaspoon of espresso powder to deepen the chocolate flavor.
- Different Sprinkles: Use seasonal sprinkles for holidays, themed sprinkles for parties, or even sugar crystals for extra sparkle.
- Fudge Center: For an extra surprise, press a small cube of prepared fudge or a Rolo candy into the center of each dough ball before baking.
Conclusion
There you have it – a comprehensive guide to crafting truly irresistible and easy chocolate fudge cookies with sprinkles. This recipe proves that baking doesn't have to be intimidating to yield spectacular results. With simple steps, quality ingredients, and a few expert tips, you're well on your way to creating warm, chewy, and deeply satisfying chocolate delights that are as fun to look at as they are to eat.
So, preheat your oven, gather your sprinkles, and get ready to fill your home with the intoxicating aroma of freshly baked cookies. These perfect, fudgy bites are more than just a dessert; they're a little moment of joy, easily created and shared. Happy baking!
